
Last updated October 30, 2026
 Architectural shingles
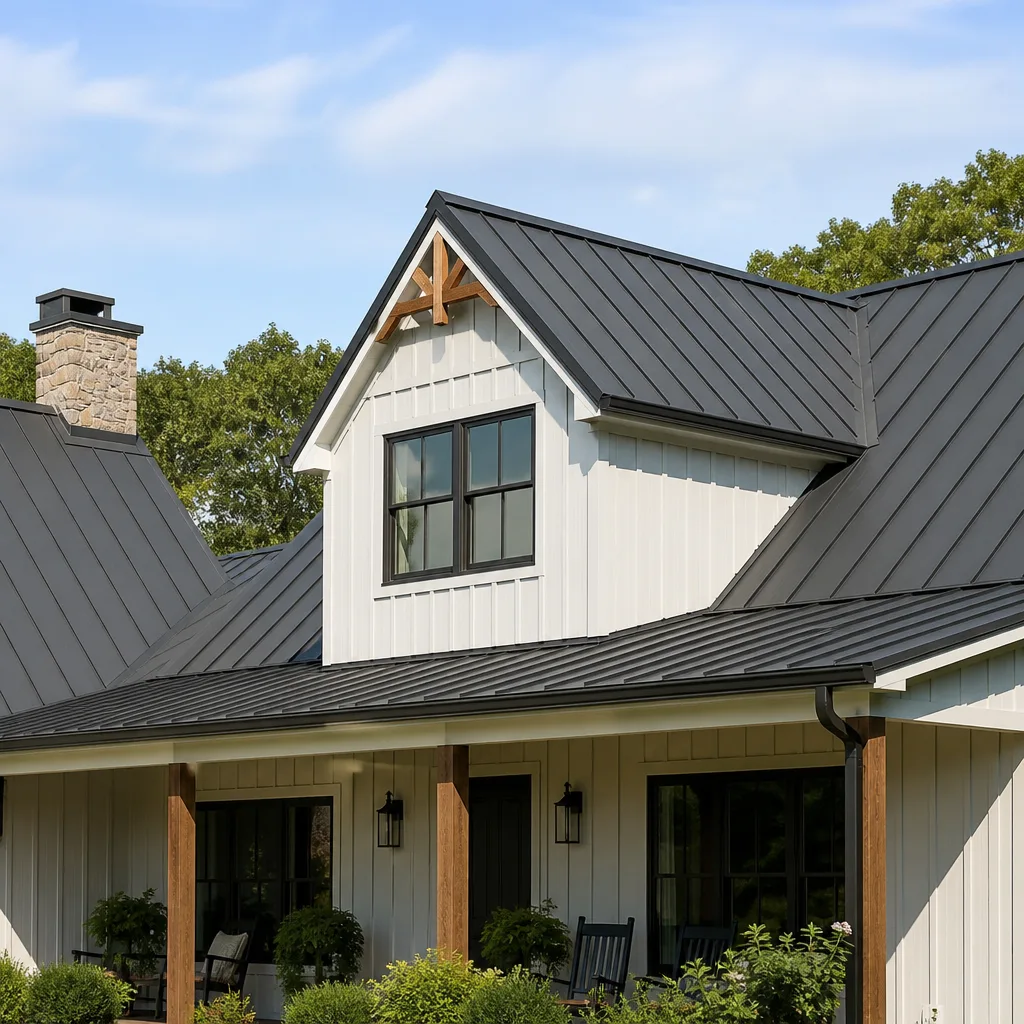 Metal roofing
 Tile roofing
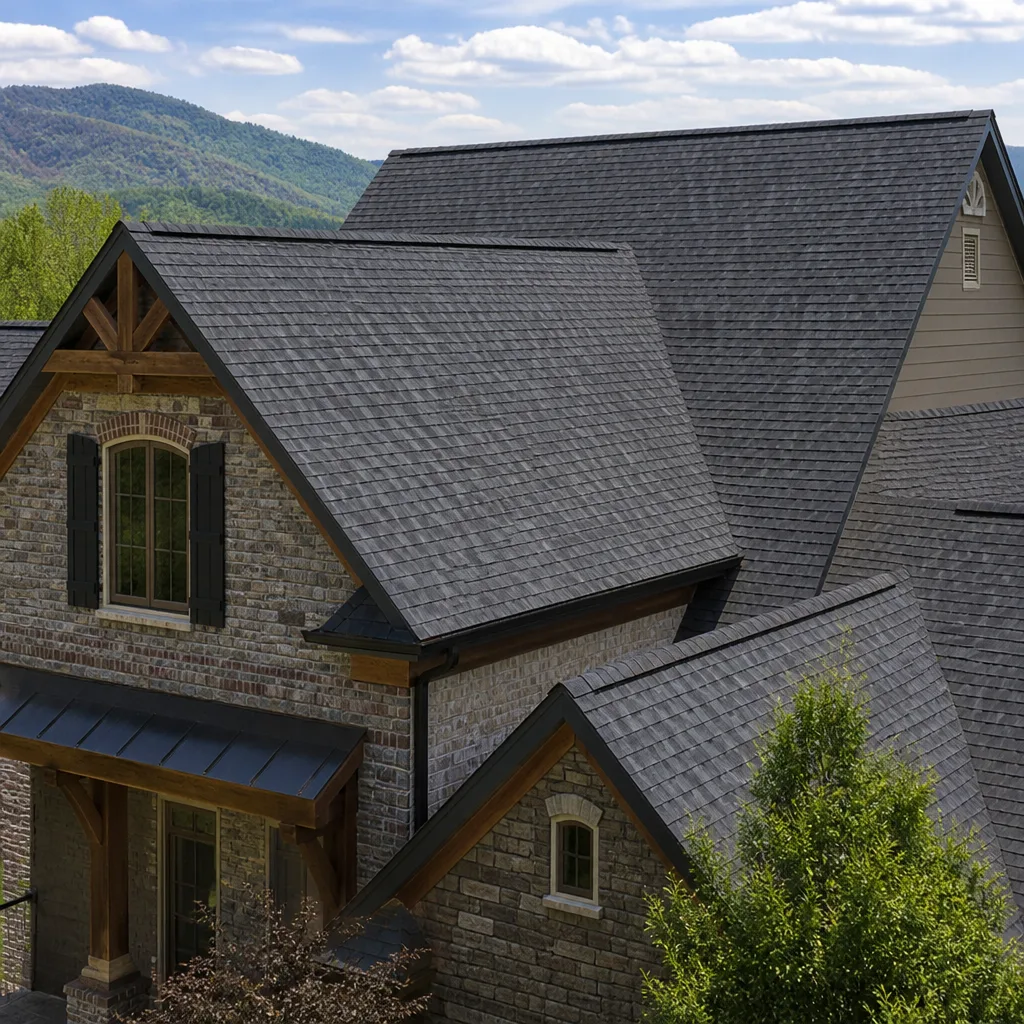 GAF
 Owens Corning
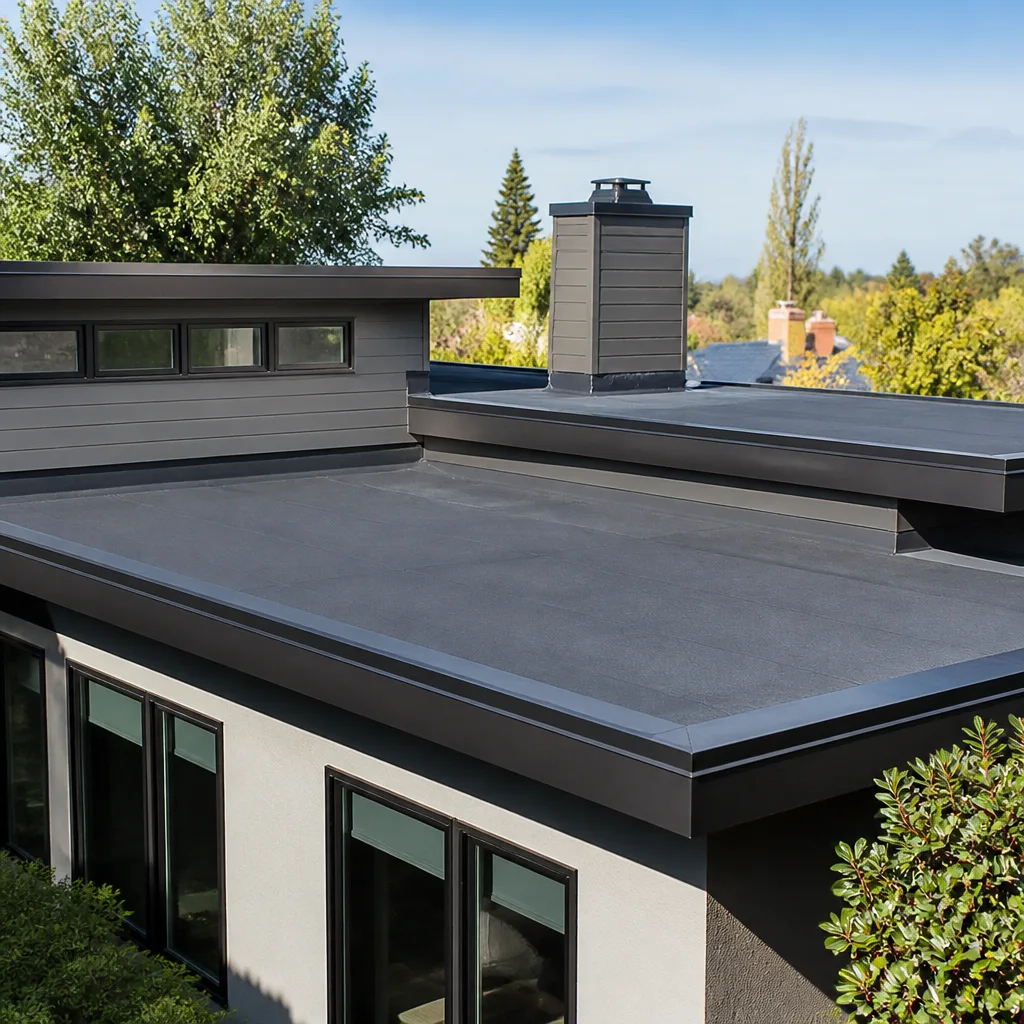 Flat & low-slope
Free roof inspection with deck photos before we talk money - GAF and Owens Corning certified installation
Roof Repair Troubleshooting: Common Problems and How to Fix Them
The wet spot on your ceiling is almost never where the roof is leaking. Water travels along rafters, sheathing, and insulation for feet, sometimes across an entire roof section, before it drips onto your drywall. Starting your troubleshooting at the interior stain is the single most common mistake we see from Mission Viejo homeowners, and it leads to repairs that fail within a season because the actual breach was never addressed. This guide walks through a systematic method for tracing roof problems to their true source, the five failure points most people confuse, and the Roof Repair services decision tree that separates a lasting fix from a temporary patch.
Styles & brands we work with
Quick Answer
Roof repair troubleshooting starts by tracing water entry backward from any interior stain, moving uphill and laterally along the roof structure to find the actual breach, which is usually at a flashing point, pipe boot, ridge cap, or nail pop rather than the open field of shingles. Most Mission Viejo roof problems fall into five commonly confused failure points, each with a visible signature that tells you exactly what failed. A repair that holds through summer but fails on the first winter rain usually points to improper curing conditions or adhesion failure during installation, not a defective shingle.
Table of Contents
- The Interior Stain Is a Clue, Not a Map
- The Systematic Uphill and Lateral Inspection Method
- The Five Most Confused Roof Failure Points
- Why Repairs That Hold in Summer Fail in Winter Rain
- Brand-Specific Troubleshooting: How Different Shingles Fail
- Repair vs. Spot Replacement vs. Section Replacement vs. Full Re-Roof
- Common Mistakes to Avoid
- When to Call a Professional
- Frequently Asked Questions
- The Bottom Line
The Interior Stain Is a Clue, Not a Map
Water entry into a home follows the path of least resistance, and that path rarely runs straight down. A stain on a Mission Viejo ceiling below the east slope of your roof may trace back to a flashing failure near the ridge on the west slope, because water ran along the underside of the sheathing, hit a rafter, and followed that rafter until it found a gap or a nail hole to drip through. In our experience, roughly seven out of ten interior water stains we investigate originate at least four feet from the visible stain, and some travel fifteen feet or more before they show up inside.
To use an interior stain correctly, you need to think like water. Water that enters at a flashing point during a rainstorm moves downslope along the roof deck until it encounters something that interrupts the flow: a rafter, a seam in the sheathing, a vent pipe, or a light fixture. That interruption is often what turns a slow migration into a visible drip. The stain, in other words, marks the exit point, not the entry point. Treating the stain with sealant or replacing the drywall below it does nothing to close the hole where water is getting in.
Mission Viejo’s climate adds a second complication. We get long dry stretches between rain events, which means water that enters during one storm can take weeks to fully dry out inside a wall or ceiling cavity. A homeowner may see no stain at all until the second or third rain of the season, because the path water takes through insulation and wood dries slowly enough that the evidence never reaches the surface. By the time a stain appears, the leak has often been active through multiple storms.
This is why we approach every roof repair in Mission Viejo with an assumption: the interior stain tells us that water is getting in, but it tells us almost nothing about where. The actual diagnosis happens on the roof, not inside the house.
The Systematic Uphill and Lateral Inspection Method
The method we use to trace roof leaks is straightforward: start at the interior stain, project it upward through the attic or ceiling cavity to its likely point on the roof deck, then inspect uphill and laterally from there, not just at that one spot. Water entering the roof at any point moves downhill, so the breach is always at or above the interior stain, never below it. The question is how far above, and how far to one side.
Here is the step-by-step process we recommend for homeowners who want to do a meaningful inspection before calling a contractor, with Roofing Emergency Preparedness Guide for Mission Viejo Homes principles in mind:
- Mark the interior stain precisely. Measure its distance from two fixed walls and note which room and which ceiling corner it sits in. This gives you a reliable reference point when you go into the attic.
- Go into the attic with a bright flashlight. Look for daylight penetration first, because pinholes that let in light are the easiest breaches to find on a sunny day. Mark any glowing spots with a pencil or a piece of painter’s tape.
- Trace from the stain upward along the roof deck. Water runs downhill, so follow the underside of the sheathing from the stain toward the ridge, looking for water tracks: dark lines on the wood, mineral staining, or insulation that is matted and discolored where it made contact with wet decking.
- Check both sides of every rafter. Water that hits a rafter can run along it laterally for a considerable distance before dropping through a gap. Inspect the full length of any rafter that passes near the stain, not just the section directly above it.
- Look for penetration points above your water track. Every pipe vent, chimney, skylight, valley, and wall intersection is a potential entry point. When you find a water track, follow it to its highest point and inspect the nearest penetration carefully.
- On the roof, inspect the area above and uphill of the suspected breach. If the underside inspection points to a spot near the ridge, the actual failure may be even higher up, at the ridge cap or the row of shingles just below it.
This method works because it treats the roof as a system rather than a surface. Water does not care about the convenient boundaries between roof sections. A leak that shows up in a bedroom on the north side of a Mission Viejo home may enter at a plumbing vent on the south-facing slope, travel across the ridge, and drip down the opposite side. The uphill and lateral method catches that kind of travel, while a spot repair at the stain catches nothing.
The Five Most Confused Roof Failure Points
After years of running roof inspections across Mission Viejo, we can say with confidence that most residential leaks come from one of five places, and homeowners routinely confuse one for another. Each has a visible signature, and knowing the difference saves you from paying for a repair that addresses the wrong component.
1. Flashing (Chimney, Wall, and Counter-Flashing)
Flashing is the metal material that transitions between the roof surface and any vertical element: a chimney, a wall, a skylight, or a dormer. When flashing fails, the visible signature is usually a leak that appears shortly after rain begins, often on the side of the house facing the prevailing storm direction. In Mission Viejo, where storms tend to arrive from the southwest, flashing failures on southwest-facing chimneys and wall intersections are disproportionately common. The metal itself may be cracked, lifted, corroded, or separated from the masonry or siding it should be bonded to.
2. Step Flashing (Wall-to-Roof Intersections)
Step flashing is a series of small L-shaped metal pieces woven between each course of shingles where a roof plane meets a vertical wall. Its signature failure is a leak that appears near the top of the wall in the room below, often accompanied by stains that repeat at intervals matching the spacing of rafters. Step flashing fails when it is too short, incorrectly lapped, or pulled away from the wall by settling or by wind-driven rain. We often find step flashing that was reused during a previous re-roof, which almost never works because the metal has already been bent to the old shingle’s alignment.
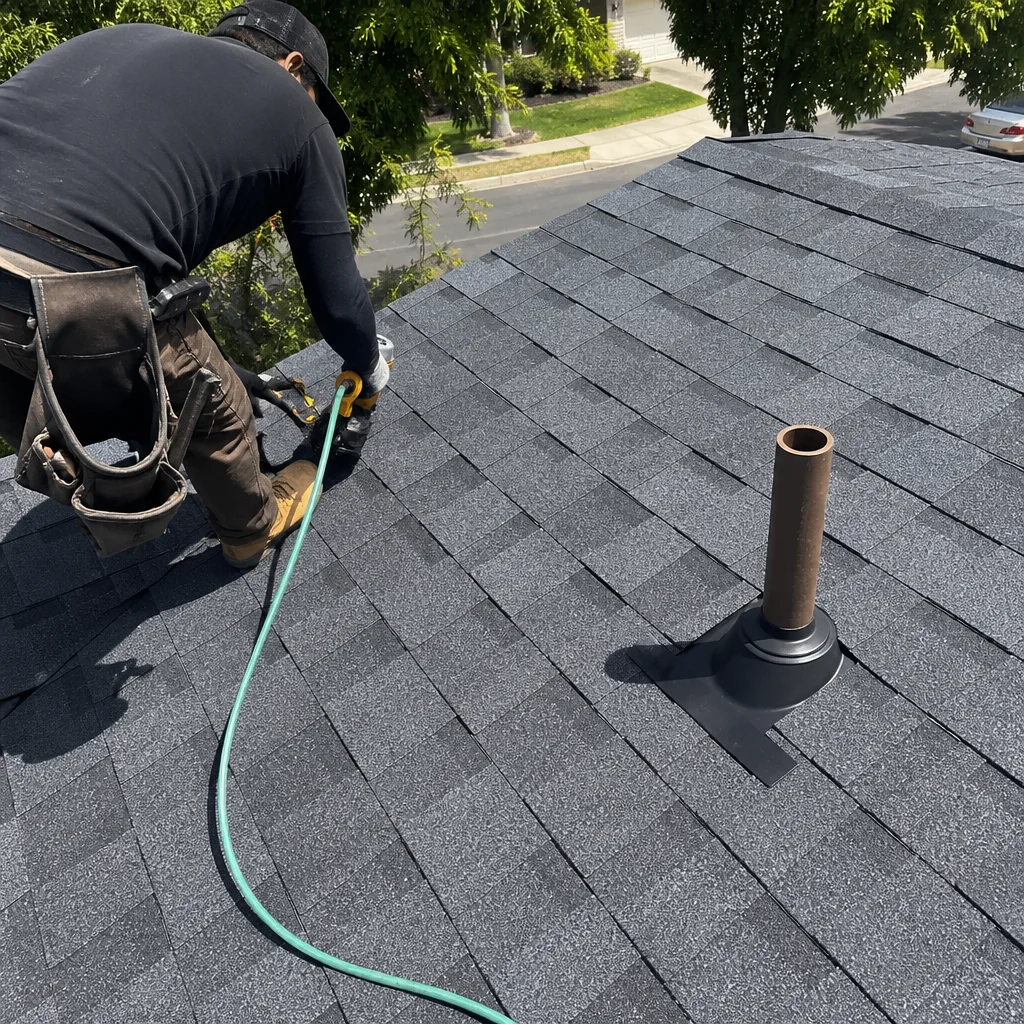
3. Pipe Boots (Plumbing Vent Flashing)
The pipe boot is the rubber or neoprene collar that seals around each plumbing vent pipe where it penetrates the roof. Its signature failure is a small, circular stain on the ceiling, often directly below a bathroom or laundry area, that appears after moderate rain. The rubber degrades from UV exposure and heat cycling, and in Mission Viejo’s long sunny season, a boot can crack and split well before the shingles around it show any wear. A cracked pipe boot is the easiest repair in roofing and the most commonly misdiagnosed, because homeowners assume the shingles around the vent are the problem.
4. Ridge Caps
Ridge caps are the shingles that run along the peak of the roof, covering the joint where two slopes meet. Their signature failure is a leak that appears near the center of the house, often in a hallway or stairwell ceiling, rather than along an exterior wall. Ridge caps fail from wind uplift, which peels them away from the ridge line, or from age, because they are the most UV-exposed shingles on the entire roof. Once a ridge cap lifts, water enters directly at the peak and can travel down either side of the roof.
5. Nail Pops and Nail Holes
A nail pop occurs when a roofing nail works its way back up through the shingle surface over time. The signature is a tiny, raised spot on the shingle face, sometimes accompanied by a small crack or missing granule patch. Water enters through the nail hole and follows the nail shank down into the roof deck. Nail pops are often dismissed as cosmetic, but they are a genuine water entry point, particularly on older roofs where the nails were overdriven or underdriven at installation. In Mission Viejo, where thermal cycling between hot days and cool nights is constant, nail pops are more common than in coastal climates with less temperature swing.
At Briarwood Roof Repair home, we diagnose these five failures by signature, not by guesswork, because we work across seven major shingle brands and we have seen how each one behaves in the field. That brand-level knowledge is the difference between a repair that addresses the actual failure and one that only addresses the symptom.
Why Repairs That Hold in Summer Fail in Winter Rain
A roof repair that survives a dry Mission Viejo summer and fails on the first real winter storm is almost never a shingle problem. It is an adhesion or curing problem. The materials used in most roof repairs, primarily roofing cement, sealant, and self-adhering membrane, require specific conditions to bond correctly, and summer heat often masks the fact that a bond never fully formed.
Roofing cement, for example, cures best in moderate temperatures with low surface moisture. In Mission Viejo, where summer roof surface temps regularly exceed 140 degrees Fahrenheit, the surface of the shingles and flashing may be too hot for proper adhesion. The cement skins over quickly on the outside but remains soft and uncured underneath. It looks sealed, and it sheds the occasional summer shower without issue. Then the first sustained winter rain arrives, the uncured layer saturates, and the bond releases within hours.
The same applies to repairs made during cold or damp conditions. A repair performed in January, when overnight temperatures in Mission Viejo can drop into the low 40s, may never cure properly at all. The adhesive stays tacky and weak, and the first time wind-driven rain hits it at the right angle, it peels away. A repair is only as good as the conditions it was installed under, and most homeowners never ask the contractor what those conditions were.
This is why a roof inspection in Mission Viejo after a failed repair is so revealing. We can usually tell from the way the material released whether it was a curing failure, a surface prep failure, or a genuine water pressure failure. The fix for a curing failure is not more sealant; it is removing the uncured material, preparing the surface correctly, and reapplying under the right conditions. Skipping that step is how a homeowner ends up paying for the same repair twice in one year.
Brand-Specific Troubleshooting: How Different Shingles Fail
Not all shingles fail the same way, and knowing the brand on your roof changes the troubleshooting approach. We work with all seven major manufacturers, but three brands come up most often on Mission Viejo roofs, and each has a distinct failure profile.
CertainTeed WeatherDek shingles tend to show their age through granule loss first, particularly on south-facing slopes. The fiberglass mat beneath the granules is visible well before the shingle itself curls or cracks. The early warning sign is a rough, sandpaper-like texture underfoot, followed by dark patches where the granules have worn thin. On a WeatherDek roof, we look for that wear pattern and for nail pops around the edges, because the shingle’s flexibility makes it forgiving of small movements but susceptible to gradual surface erosion.
GAF TimberLine shingles are heavy and dimensionally stable, which means they rarely curl or crack on their own. Their typical failure mode is at the sealant strip. If the original install was done in cold conditions or on a dusty deck, the self-sealing adhesive strip may never have activated, leaving the shingle tabs unsealed. An unsealed TimberLine roof will lift in wind before it leaks from material breakdown. We look for shingles that can be lifted easily by hand, especially along the eaves and rake edges, and for wind-damaged tabs on the windward slope.
Owens Corning Duration shingles, with their distinctive SureNail fabric-reinforced nailing strip, are resistant to blow-off but can fail at fastener locations if the nails were not placed within the strip. The shingle’s weight and rigidity mean that an incorrectly placed nail will not work its way out as a visible nail pop; instead, it will create a small stress crack at the nail location that widens over time. On a Duration roof, we inspect for hairline cracks radiating from fastener points, particularly after heavy wind events.
The practical takeaway is that a patch that works on one brand may not work on another. A sealant repair that holds on a CertainTeed roof may fail on a GAF roof because the shingle surfaces respond differently to adhesive. We match repair methods and materials to the specific brand on the roof, which is why we maintain current certifications across GAF, CertainTeed, and the other major manufacturers. If you have a roof replacement in Mission Viejo in your future, that same brand compatibility applies: we can replace in the same family as your existing roof when that is the right call.
Repair vs. Spot Replacement vs. Section Replacement vs. Full Re-Roof
The most honest question in roofing is not “what is wrong” but “what is the right size of fix.” We apply a simple decision tree that considers the square footage of visible damage, the age of the roof, and the location of the failure.
The Decision Tree
- Localized repair (single failure point, less than 10 square feet affected): The right call when the failure is a cracked pipe boot, a short section of lifted flashing, a handful of nail pops, or a small number of missing shingles. The repair is material-matched to the existing shingle brand and usually takes one visit.
- Spot replacement (10 to 100 square feet affected, one contiguous area): The right call when a section of shingles is wind-damaged, hail-damaged, or worn through granule loss, but the rest of the roof is sound. We remove the damaged shingles, inspect the deck below, and install replacement shingles matched to the surrounding roof.
- Section replacement (100 square feet or more, or a full slope affected): The right call when an entire plane of the roof, typically the south-facing or west-facing slope, shows advanced wear while the other slopes remain serviceable. This is also the right call when a leak has rotted a large area of decking that must be replaced anyway.
- Full re-roof (multiple slopes affected, or the roof is past 80% of its expected life): The right call when damage is widespread, the shingles are consistently brittle or granule-bare across the roof, or the homeowner plans to stay long enough that piecemeal repairs will cost more than replacement before the roof’s end of life.
The thresholds are not arbitrary. A repair that is stretched too far, patching a 200-square-foot area of failing shingles one leak at a time, costs more per year than a section replacement amortized over the remaining life of the roof. We tell Mission Viejo homeowners the honest math, and we recommend the smallest fix that actually solves the problem. That is what “repair first, replace only when necessary” looks like in practice.
Common Mistakes to Avoid
- Sealing the interior stain from inside. Applying silicone or roofing cement to the underside of the deck where the stain appears does not stop the entry point; it just redirects water to a new exit, often deeper into the ceiling cavity. The stain will move, and the hidden damage will grow.
- Replacing shingles over a failed flashing. If the flashing is cracked or separated, new shingles around it will not stop the leak. The flashing must be repaired or replaced first, then the shingles reinstalled around it.
- Ignoring a small stain during the dry season. Mission Viejo’s long rain-free stretches mean a small stain can go months without growing. By the time it reactivates in winter, the water has had months to rot decking and framing. Stains do not self-heal.
- Using one-size-fits-all sealant on every failure. A pipe boot needs a boot replacement, not a smear of tar. A ridge cap needs a cap shingle, not a bead of caulk along the ridge. Sealant is a temporary measure, not a repair.
- Assuming the newest thing on the roof is the problem. A recent roof replacement does not guarantee a flawless installation. If the leak started after a re-roof, the problem is usually in the installation of flashing or underlayment, not in the brand of shingle.
- Climbing onto a steep roof without experience. Mission Viejo has many two-story homes with steeply pitched roof planes, and a fall from even a single-story roofline can be catastrophic. Leave the on-roof inspection to someone who works on roofs every day.
When to Call a Professional
You should call a roofer when the interior stain cannot be traced to a single visible failure point, when the stain reappears after a previous repair, when you see daylight through the roof deck in multiple places, or when the affected area is more than a few shingles wide. You should also call before buying a home with a roof that is past fifteen years old, because an honest roof inspection in Mission Viejo can save you from inheriting a leak. Briarwood Roof Repair offers free estimates in Mission Viejo, and we are happy to walk the roof with you so you can see what we see. Call (855) 707-6114 to schedule.
Frequently Asked Questions
A localized roof repair in Mission Viejo, such as a pipe boot replacement or a small flashing repair, typically falls between $250 and $600 depending on the accessibility of the roof section and the materials needed; see our Roofing Cost Breakdown: The Mission Viejo Homeowner’s Reference for 2026 for fuller pricing context. Larger repairs that require spot shingle replacement or section work run higher. Call (855) 707-6114 for an exact quote, and we will give you a written line-item estimate before any work begins.
If the stain appears after rain and stays dry during dry weather, it is almost certainly a roof penetration. If it appears regardless of weather and corresponds to use of a shower, toilet, or sink, you may have a plumbing leak, and a plumber should look first. Call (855) 707-6114 if the pattern points roofward, and we will help you trace it.
Matching shingles on an aged roof is possible but imperfect, because the installed shingles have weathered and faded while new shingles of the same brand will not. We can typically match the same brand and color family, and the mismatch becomes less noticeable as the new shingles weather. Where exact matching matters, we recommend a section replacement or a re-roof in the same brand family as the existing roof.
A properly executed repair, installed under the right curing conditions and with materials matched to the existing shingle brand, will hold through normal Mission Viejo winter rain. The failures we see after winter storms are almost always adhesion or curing failures from prior repairs, and we correct those by removing the failed material and reapplying it correctly.
A localized repair such as a pipe boot or a small flashing fix usually takes one to two hours on site. A spot replacement or a section repair may take half a day or a full day depending on the extent of the damage and the roof’s pitch. We always provide a time estimate with your written quote.
Yes. We work with seven major roofing manufacturers, including GAF, CertainTeed, Owens Corning, IKO, Atlas, Tamko, and Boral, which means we can diagnose and repair nearly any residential roof without pushing you toward a brand you do not already have. Material-matched repairs are the core of how we work.
The Bottom Line
Roof repair troubleshooting rewards patience and system-level thinking. The interior stain is a symptom, not a diagnosis. Water travels, failure points disguise themselves as one another, and repairs that look fine in summer can fail in winter if the materials never cured properly. If you learn one thing from this guide, it should be the uphill and lateral method: start below, inspect above, and check the penetrations before you blame the shingles. For more guides & resources, explore our blog. If you get stuck, we are right here in Mission Viejo. Call (855) 707-6114 for a free estimate, and we will walk the roof with you and show you exactly what is going on.
Written by the team at Briarwood Roof Repair, serving Mission Viejo since 2014.
See the difference
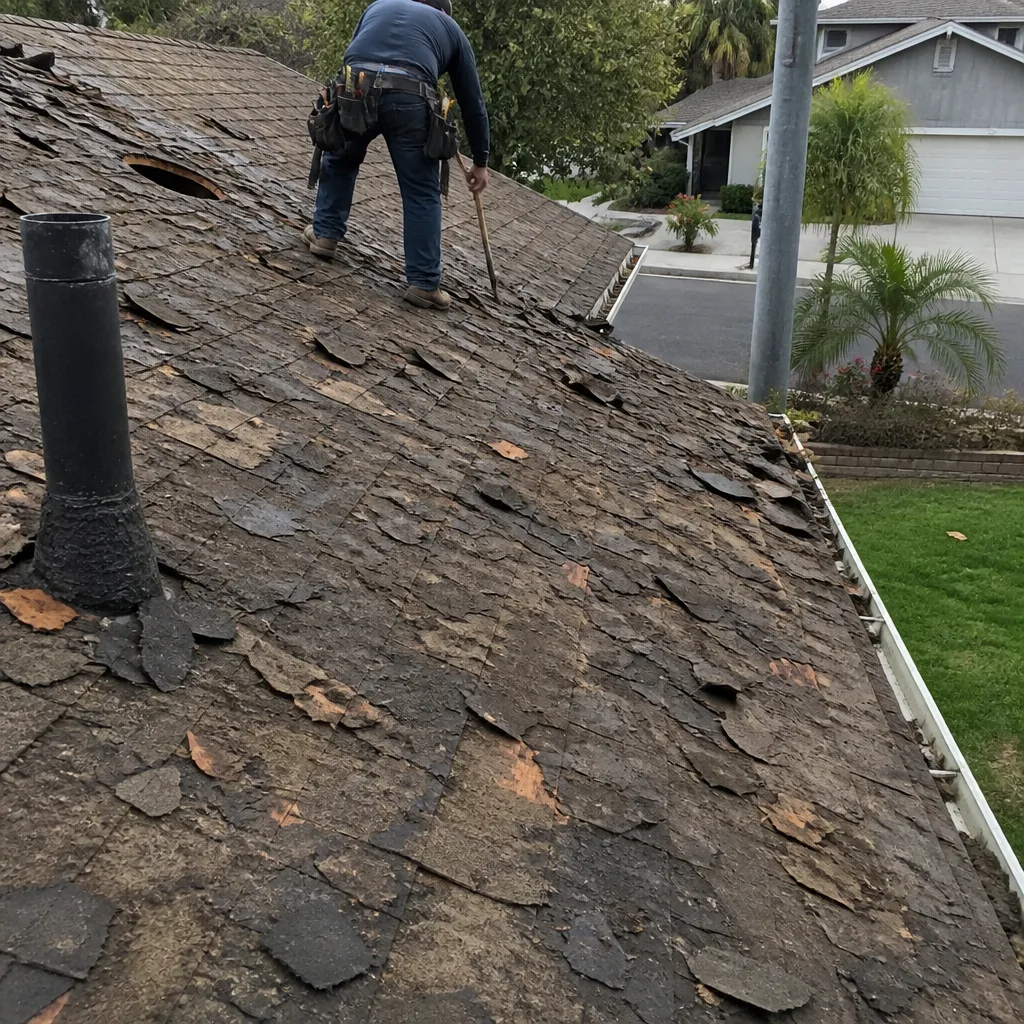 Before
 After
 Before
 After
 Before
 After